Solving Tomorrow’s
Water Challenges,
Today.
Smart Water Solutions for a Sustainable New Zealand
We Help You
-

Manage
Enabling water resilience through world-leading solutions to reduce, reuse, recycle, and attenuate water.
-

Treat
Innovative water treatment and filtration solutions for a healthier, safer future.
-

Measure
Maximise operational performance, reduce your costs, and increase the life cycle of your assets.
-

Protect
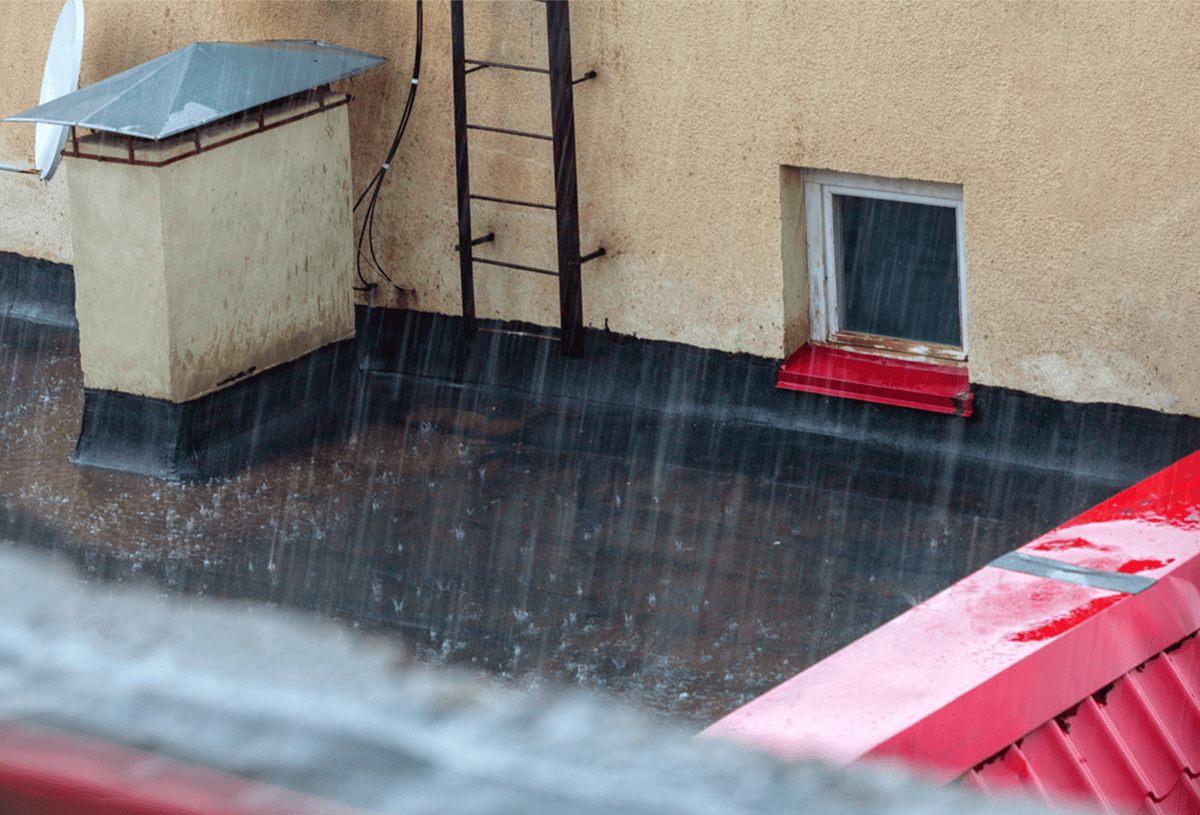
Reliable, specialised solutions to protect your important assets from flooding.
Who We Work With
At Watersmart, we’re experts at solving water challenges. You can conserve more water and increase resilience quickly, easily, and cost effectively with our reliable solutions. Our passion and know-how can add considerable value to your project.
Every day, we’re pushing the boundaries of what’s possible, delivering smart solutions to all sorts of water challenges. Working alongside councils and specifiers, we provide cutting-edge systems to harvest, retain, detain, and recycle more water on-site.
As a team, we are also adept at solving the biggest challenges – working with developers to maximise yields and solve problems with small, tight, rocky sites and high invert levels.
-
When you need to resolve constrained development issues, we’ll get you sorted. We have multiple solutions available to help maximise your yield and fit the scope of your next build.
-
If you are looking for easy to install and cost-effective solutions that meet the specific requirements of your next project, give us a call. All of our solutions are code-compliant and fully tested for your peace of mind.
-
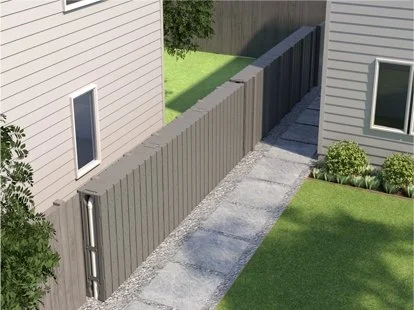
When you need products that balance form with function, we have you covered. No ugly tanks or pipework here! Give your design challenges to us and we will help you come up with a solution.
-
To save you time and money, having a partner to help manage your water assets is essential. We’ll not only take care of the maintenance but help enhance your water usage and protect your property from flooding.
-
Making your life easier is our job. We’ll help take away your stress by making the design and installation of our water solutions seamless. From the back office to install our team are committed to helping you deliver a successful project.
ARCHITECTS
•
DEVELOPERS
•
PROJECT MANAGERS
•
ENGINEERS
•
FACILITIES MANAGERS
•
ARCHITECTS • DEVELOPERS • PROJECT MANAGERS • ENGINEERS • FACILITIES MANAGERS •
Case Studies
Explore Watersmart
Services
We are New Zealand's only whole-system water experts. By offering end-to-end services and out-of-the-box solutions, we save you time, money, and stress. From planning to installation to maintenance, we make it easy.
Products
Revolutionary water management products have arrived: easy-to-install, cost-efficient, and highly effective. From water recycling, rainwater harvesting to stormwater management, these cutting-edge innovations set a new standard for sustainability, and conquer challenges that were once insurmountable.
News
Tap into a wealth of information and explore the power of our solutions with our insightful case studies. Discover the latest developments in water sustainability, including innovative water neutral building techniques and solutions built to withstand the ever-changing climate.
Watersmart Story
Our cutting-edge approach to water management is transforming the way we think about sustainable development, and we invite you to be a part of that change. Learn more about our expertise and how we're shaping a better future for our planet, one drop at a time.
END-TO-END SERVICE
Design → Plan → Supply → Install → Maintain
Whatever your challenge, we have a complete water system to help you solve it. Our expertise covers everything from stormwater management, rainwater harvesting, water recycling to flood control. With us you’re not just getting the most innovative products, you’re getting a team of experts and access to a wealth of knowledge and wisdom about all things water-related. Partnering with us will give you more options, get your project underway faster, and save you money.
Water Conservation And Resilience Experts
Watersmart is at the forefront of water conservation and resilience innovation. We are the only whole-system water experts in New Zealand. Our expertise includes stormwater management, flood control, water recycling, rainwater harvesting, water treatment and water management systems. For maximum benefit, we develop complete systems that harvest, reuse, recycle, and manage water.
At Watersmart, we understand that water is not just a resource, it’s a taonga, and we’re committed to safeguarding it for generations to come. We’re here to help you find smarter solutions to today’s challenges, and to prepare for tomorrow’s. Our end-to-end offering covers every aspect of water system management. From design, to supply, installation to maintenance, we are the end-to-end
water revolution!
Tap into our deep knowledge, exceptional service and relentless innovation.
Together, we can make water smarter.

Tell Us About Your Project
From conceptualising to constructing, we’re ready to design your architectural dream. We promise a client-centric approach that empowers ideas, eases concerns, and delivers quality craftsmanship we’ll all be proud of.


